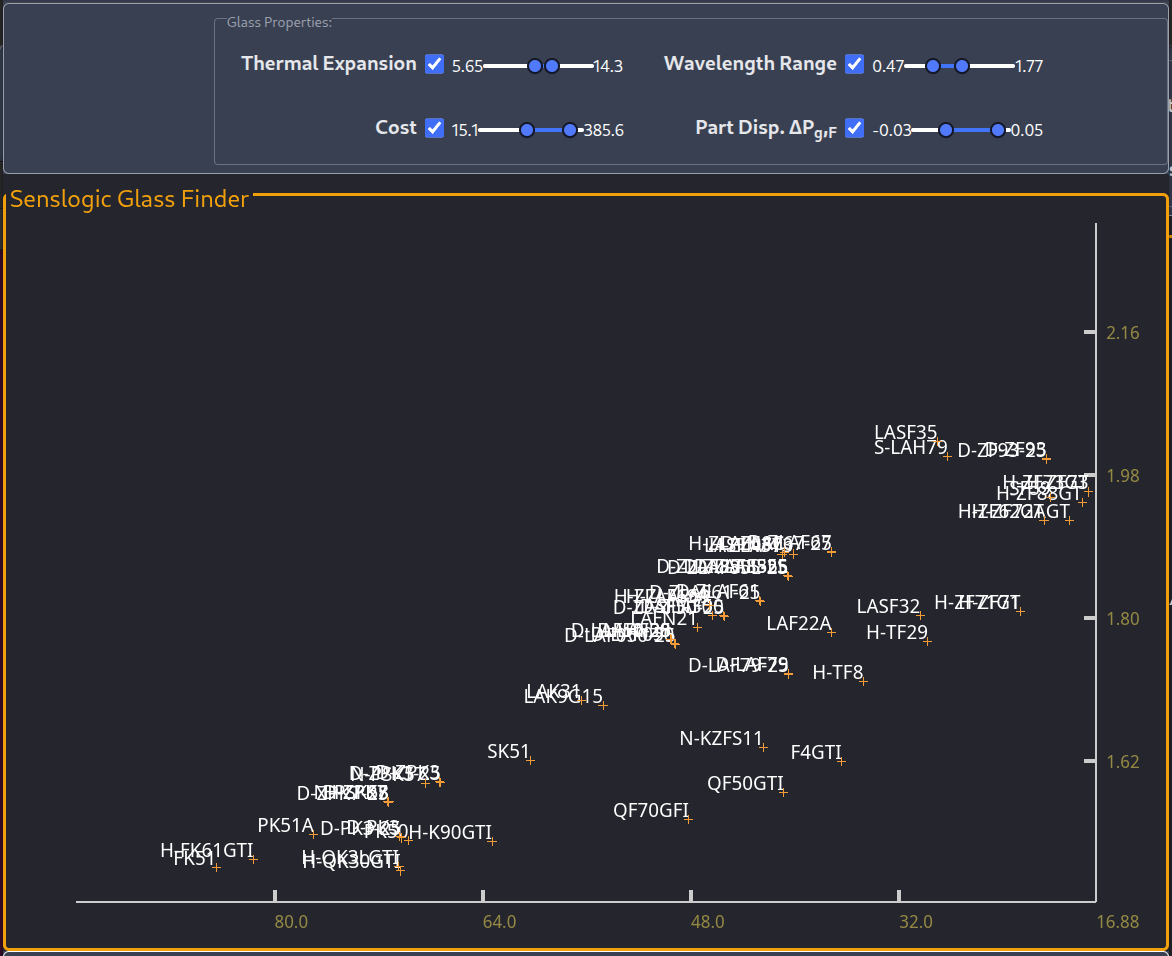
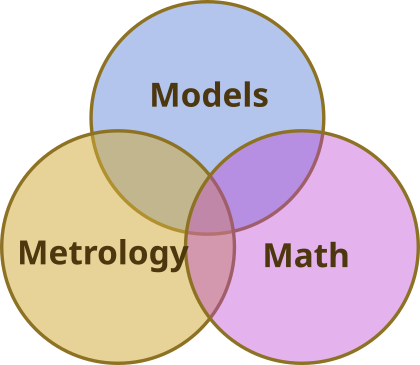
WaveMe is a metrology toolbox designed for parallel image processing and provides applications for Shack-Hartmann wavefront sensing, fast phase-shifting interferometry, and support for optical alignment tasks out of the box. Inside WaveMe, one will find an image pipeline that forwards messages from a source, which would typically be a camera, and a sink, which is a compositor that catches and orders graphics commands to offer an efficient and flicker-free presentation.
WaveMe Module Programing
One of WaveMe’s strengths lies in its open programming interface, enabling users to access this image stream, including camera images and data from other modules operating in the pipeline, to create or adapt results to fit new measurement tasks.
To make the module interface more accessible, WaveMe includes a template folder in the standard installation path containing essential elements for writing new modules that integrate seamlessly into the existing pipeline. To create a custom module, we recommend that the user copies the template folder to a new location and rename ‘template_’ to something that better describes its purpose. For example, using Microsoft’s Vscode, [CTRL]+[SHIFT]+H allows for quick renaming across all files, including the Makefile, but it’s all just text files so the tool choice is free.
WaveMe uses GTK4/GLIB-2.0 for its user interface and, on Windows, it was built using the MSYS2/mingw64 environment. There are some more details, such as which development libraries to install in order to compile your own module, and the standard installation includes a script that installs all necessary development libraries.
WaveMe provides its own set of graphics primites which are based on OpenGL and new can be added within the framework provided by WaveMe, which offers an interface to make sure the OpenGL commands are executed in the proper context.
Open API
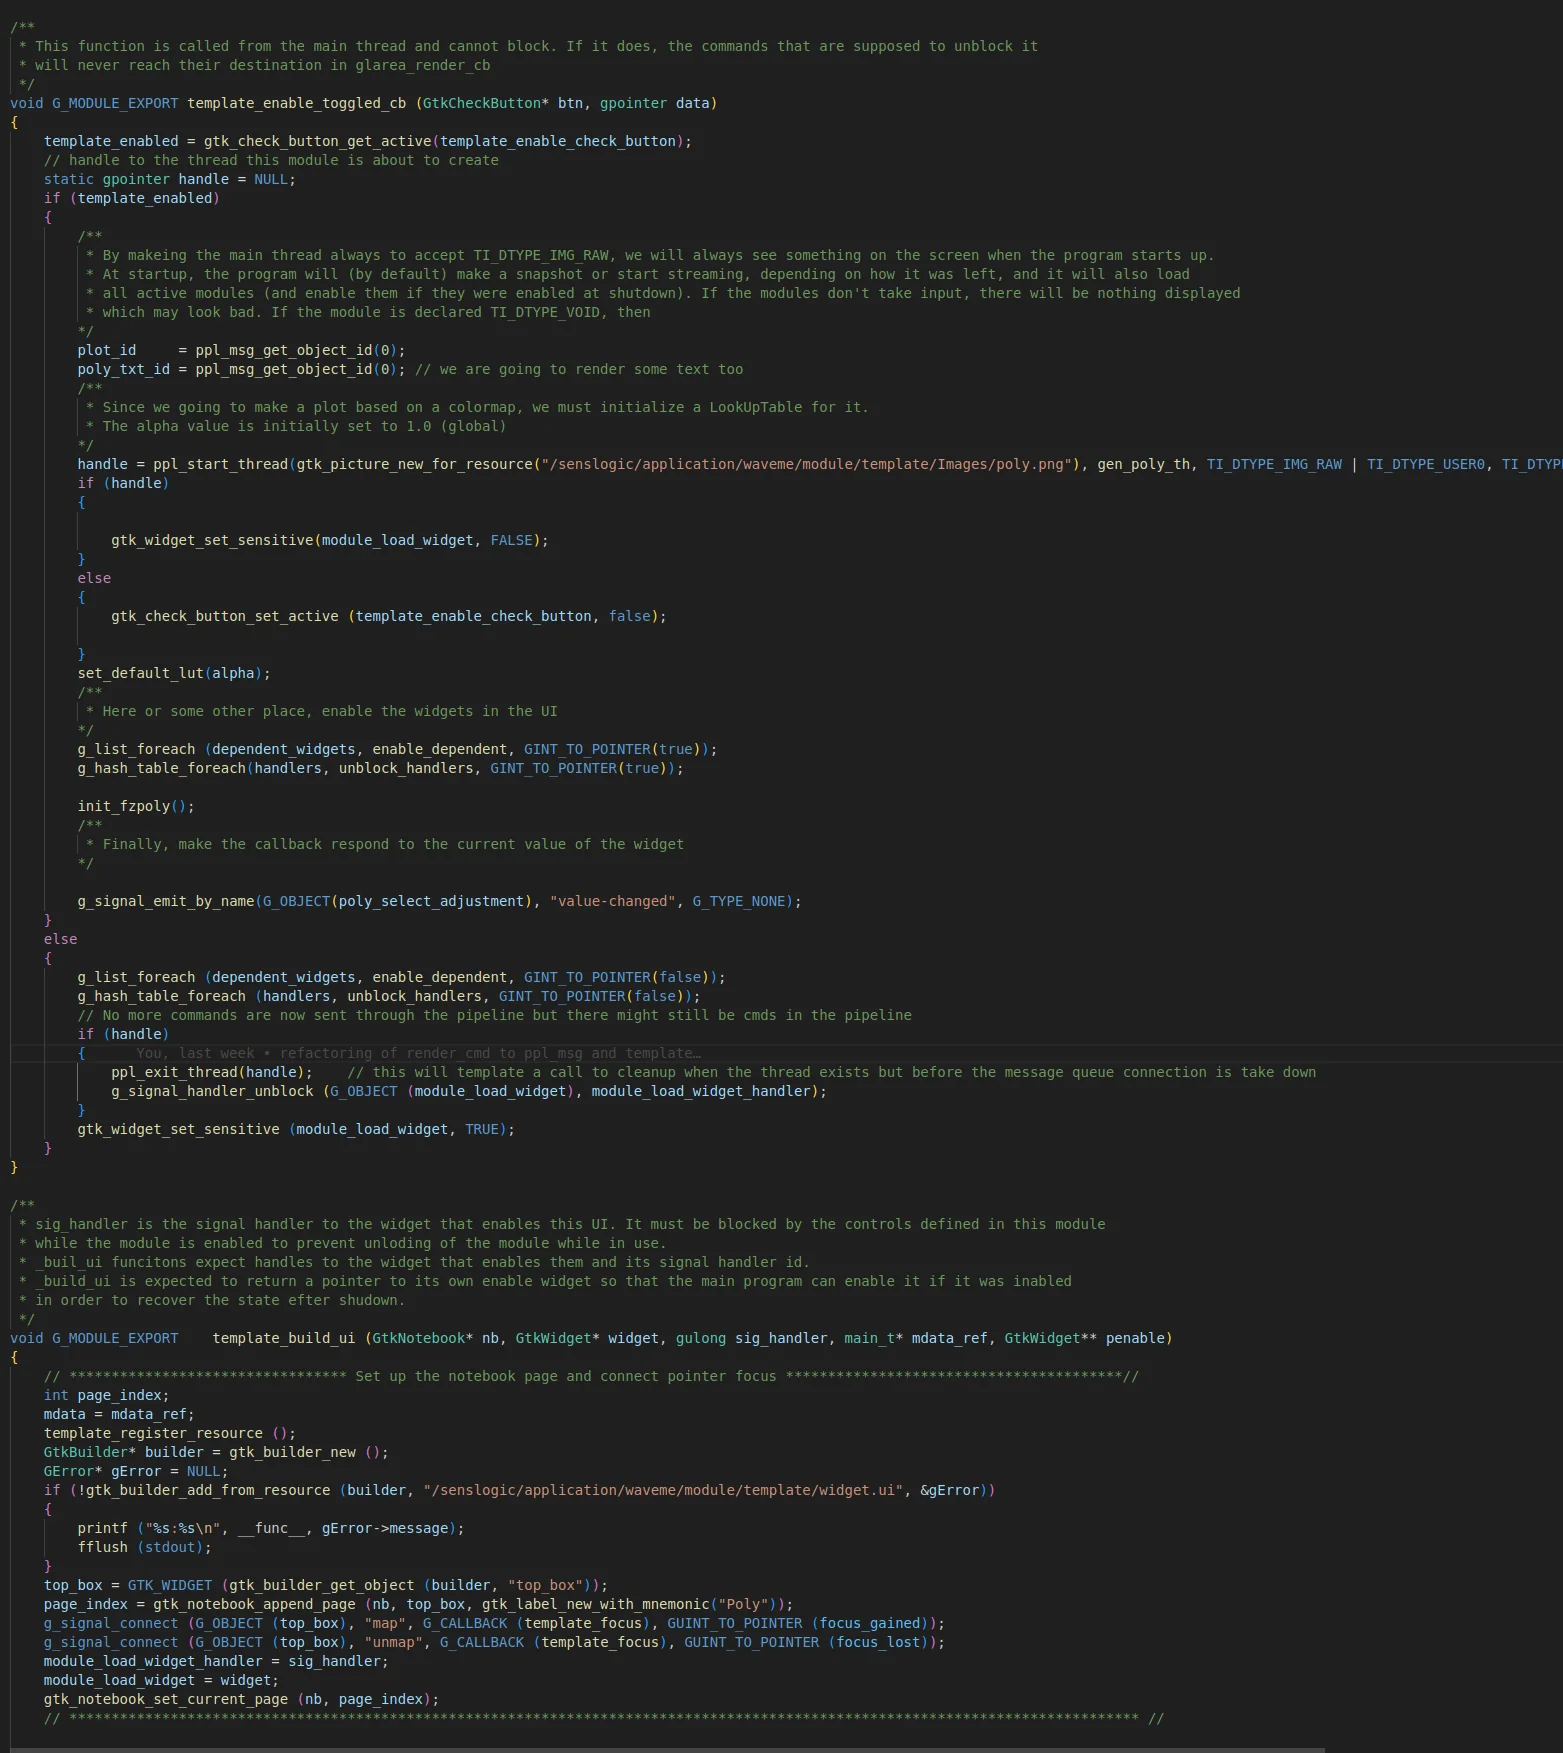
Each application offered by WaveMe resides inside a dynamically linked library (.dll on Windows or .so on Linux) that can define its own user interface and even add elements to WaveMe’s preferences menu. At start-up, Waveme will try to locate all appropriate libraries, but in order to do that, there are five mandatory functions that are expected by WaveMe in order to integrate a new module into its own UI and make it available. These are the five functions found at the bottom of template.c. They are get_module_prefix(), _remove_ui(), _build_ui() and _verify_module(). They serve various purposes, ranging from exporting the module name, so that WaveMe can identify and distinguish between just any library it may find and a proper WaveMe module, to creating and eventually removing the user interface defined inside the module.
Interface Template
Inside template.c, one will also find examples of good practices for intercepting and identifying pipeline messages. How to enter and leave the pipeline and how to cooperate with it. The early versions of the pipeline required less cooperation, but then there were so many things that the modules simply could not do, and the pipeline evolved to require more cooperation as a trade-off to allow the modules to do things such as swap one message for another. This is, for example, used in the Shack-Hartmann module that starts two threads on the pipeline, one that analyzes the spot image and creates the gradient field (displayed as a quiver plot), and one that intercepts this gradient field in order to compute the wavefront. This part of the module has the option to forward the gradient and let the compositor handle it or consume it (or drop it and release its resources).
The video shows what the template example does, which in this case, is to implement a few widgets to offer some examples of how to send some data down the pipeline and how to interact with it. It also serves as a documentation of the fringe Zernike polynomials used by WaveMe and its other modules. The template also contains code showing how to interact with the mouse pointer and also how to properly interact with the other modules for key and drag events. There are also templates for how to create the icon, although not strictly necessary, which docs with the compositor icon at the bottom of the Toolbox (box) widget.
Application Examples
Perhaps more interesting is, besides esoteric OpenGL graphics examples, what can this be used for? I am glad you asked. 🙂
Suppose one would want to create a feedback loop for a deformable mirror using the feedback from the Shack-Hartmann module. The answer is, write a module that interacts with your deformable mirror that captures the Zernike polynomial or the gradient field, whichever you prefer. Start a stream and control your mirror. Since WaveMe also provides a highly capable phase-shifting module, connect your mirror with the trigger module and use a variant of the logger module (which is also provided in source form) to create a calibration table for your mirror. With a USB3 camera, WaveMe will push your actuator to the limits and has the capacity of reach more than 10 4-phase measurements per second. Even deformable mirrors with a large actuator count can be calibrated in under 30 seconds, assuming the mirror and actuator are fast enough.